Skip to content
One photo. A clearer possibility.Pricing

Image upscaler

Image upscaler: more room for your best images

Enlarge a small photo for a screen, a product listing or a print. Choose a 2× or 4× scale, or a 2K, 4K or 8K size target. AI estimates finer detail while you compare the result with your source; it cannot recover information that was never recorded.
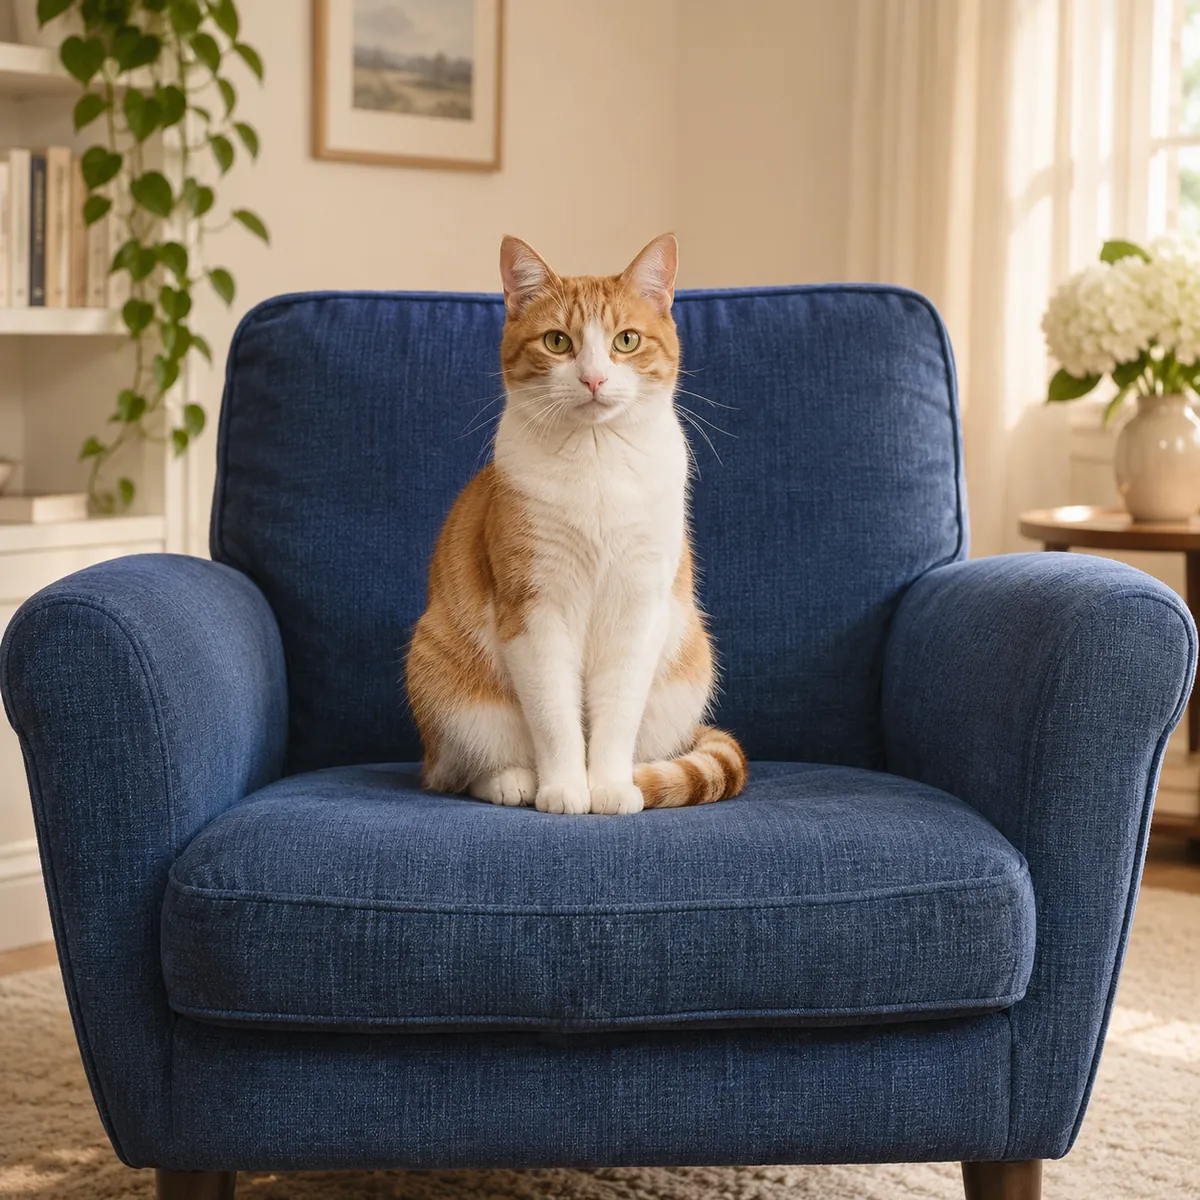
Original detailed ginger-and-white cat photo illustrating soft and clear fur and whiskers — After
Original detailed ginger-and-white cat photo illustrating soft and clear fur and whiskers — Before
BeforeAfterExample image

Give your photo a fresh look

JPG, PNG, WEBP · up to 15 MB · 40 megapixels

Drop a photo here, or paste from your clipboard

Enhancement model
Output format

No signup. Private by default.

AI processing uploads your selected photo securely. Files in Enhance Photo storage expire within 24 hours; upstream retention is described in our Privacy Policy.

Illustrative examples show the editing goal. Compare processed results with your original photo.

Details to inspect after an enlargement

Use these four subjects as a comparison checklist alongside the existing before-and-after preview. Judge the downloaded result at its actual pixel size.

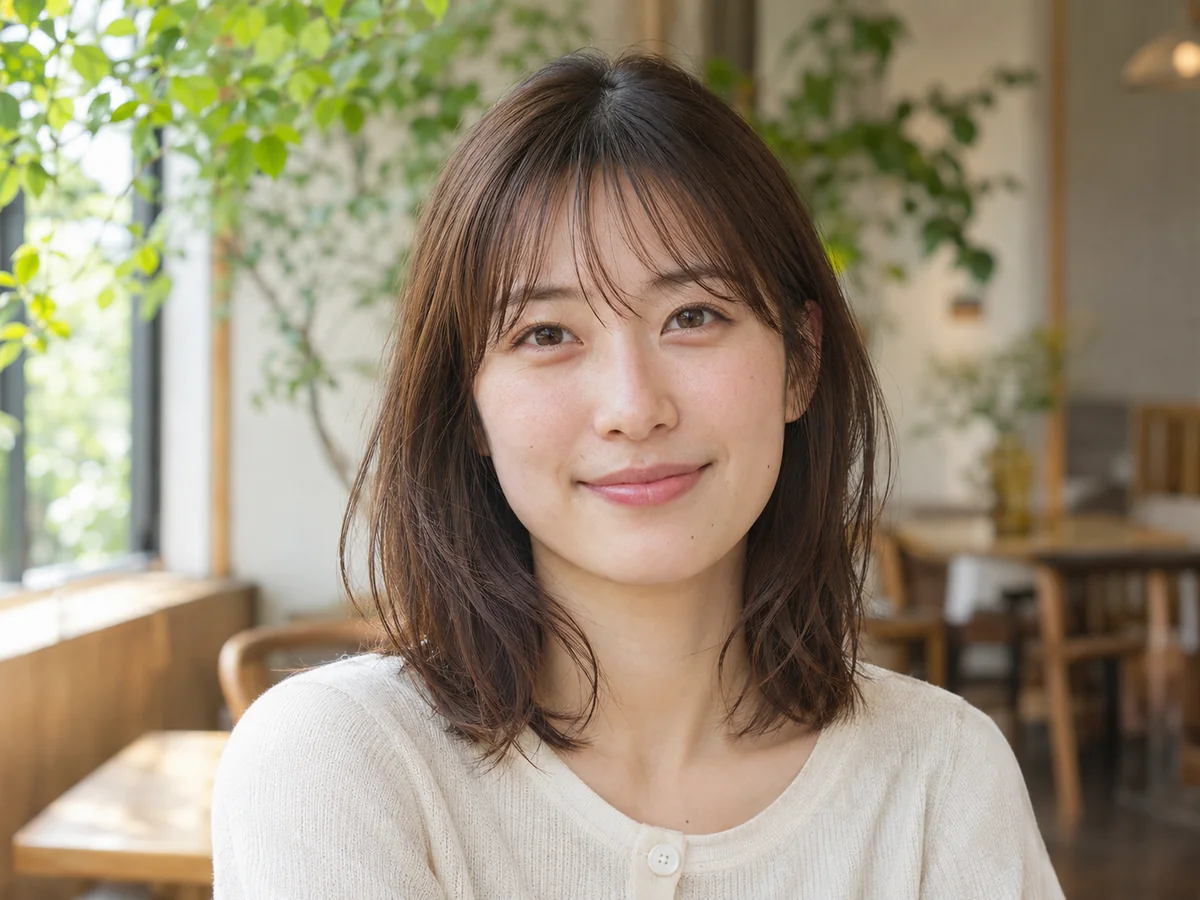
Portraits and clothing

Compare eyes, hairlines and knitted fabric. Look for a recognizable face and plausible texture without waxy skin or repeated stitch patterns.

Forests and foliage

Follow branches, paths and leaf edges. Added texture should support the scene rather than turning distant foliage into an unrelated pattern.

Coffee and tableware

Check cup rims, handles and the shape of latte art. Enlarging an image should not change how its objects fit together.

Street portraits

Inspect a person’s hat and clothing alongside windows, rooflines and signs in the background. Small lettering needs particular care.

How to upscale an image online

01

Choose the best source

Select, drop or paste one JPG, PNG or WebP up to 15 MB and 40 megapixels. An original camera file gives the model more useful information than a screenshot.

02

Select a scale and format

Choose an available enlargement mode and JPG, PNG or WebP output, then start the run. The workbench shows the credit rate for the selected mode before processing.

03

Inspect, compare and save

Use the comparison slider, then inspect the downloaded file at 100%. Check faces, lettering and fine patterns before publishing or printing.

Image enlargement at a glance

Input

One JPG, PNG or WebP; up to 15 MB and 40 megapixels.

Enlargement choices

Fast 2×, 2K, 4K, 2×, 4× and 8K targets are listed in the workbench.

Credit rates

Fast 2×: 4; 2K: 2; 4K: 4; 2×: 6; 4×: 8; 8K: 8 credits per run.

Output

Choose JPG, PNG or WebP and save the complete generated file without an added watermark.

Photo handling

AI processing sends the image to a provider. Uploads, results and download links have a 24-hour deletion window.

Image fidelity

The goal is to retain the person and composition. Synthesized detail still needs a visual check.

Image upscaler

What AI adds beyond ordinary resizing

A conventional resize calculates new pixel values from neighboring pixels. It can make a larger file without supplying more evidence about hair, woven cloth or an object’s edge. AI enlargement instead estimates a detailed version using patterns learned during training.

That distinction is useful, but it is also a limit: convincing texture is not proof of the original detail. Use Enhance Photo to prepare a more usable image and compare the result against the source, especially for faces, labels and artwork.

  • Texture and edges: inspect whether reconstructed detail looks coherent at 100%, not just sharper in a reduced preview.
  • Size choices: use a scale multiplier when the starting dimensions matter, or a resolution target when preparing a particular display.
  • Mode choices: Fast and higher-detail options have different credit rates; a larger or more expensive mode is not automatically the best match for every image.
  • Browser workflow: choose and review the image on a phone or computer without installing a desktop editor. AI generation is remote, rather than a local browser conversion.

Image upscaler

Four practical uses for a larger image

Match the output to the destination and check the details that matter for that job.

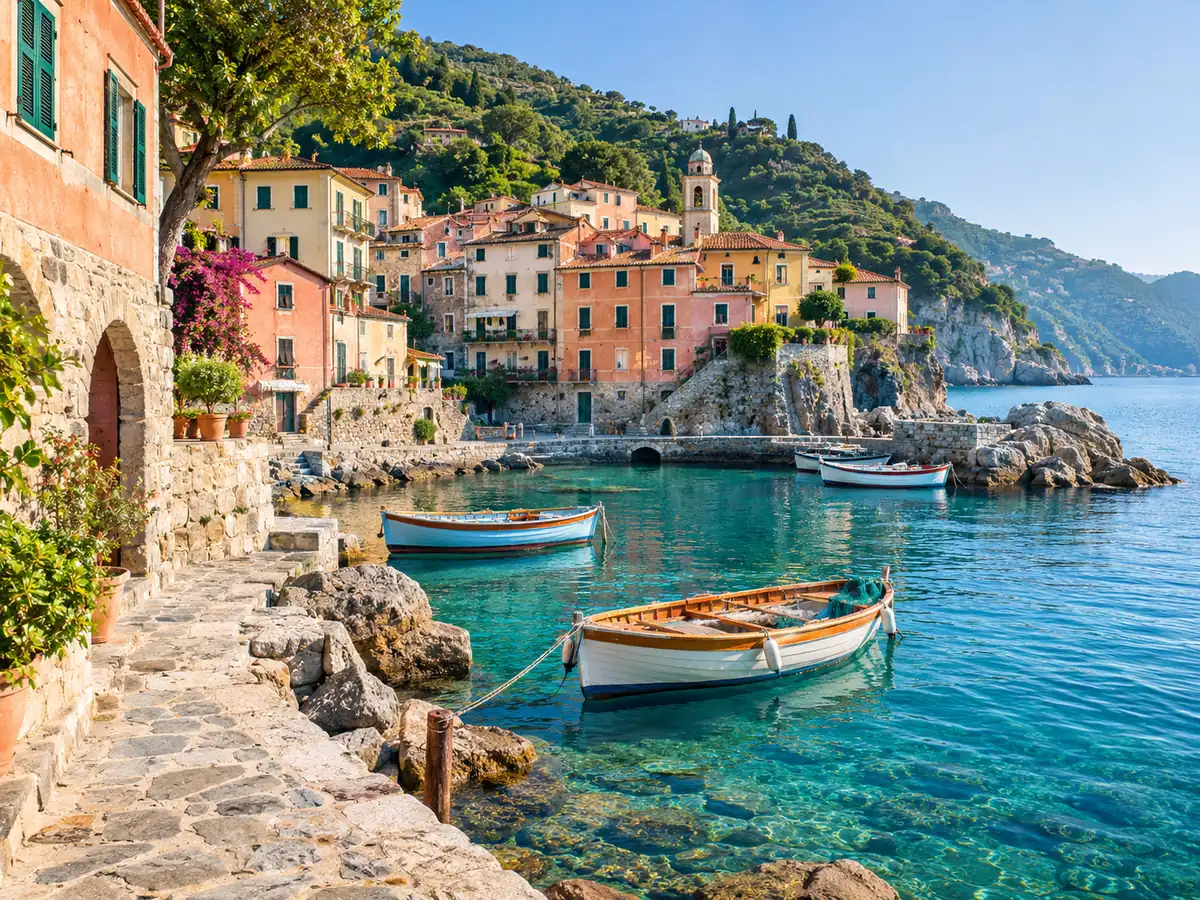
  • Travel wallpapers: compare the output dimensions with your monitor, then inspect trees, rocks and clouds rather than relying on a thumbnail.
  • Old portraits and selfies: improve the source first when blur or damage is the main problem, then enlarge for an album or framed print.
  • Product listings: review fabric, seams and labels against the actual product. Do not publish invented specifications or altered marks.
  • Illustrations and digital art: check line thickness, flat colors, signatures and intentional brush texture before preparing a poster.

Image upscaler

Why use this photo enlargement workflow?

The original stays available for comparison, so a larger file can be judged against the photo you actually chose.

  • Aim for recognizable subjects and natural texture, with no requested face replacement or beauty transformation.
  • Choose large-output targets up to 8K when the source and intended use justify them. Inspect the actual download dimensions.
  • Address compression blocks and grain while enlarging; heavily damaged inputs may still need separate restoration.
  • Save files within the 24-hour retention window. Avoid uploading images you are not entitled to process.

Image upscaler

Choose between 2×, 4×, 4K and 8K

A multiplier describes a change to both pixel dimensions. A resolution label describes a size target. Keep the original aspect ratio in mind: a portrait does not become a widescreen picture simply because you choose 4K.

  • 2× doubles width and height: 1200 × 800 becomes 2400 × 1600, with four times as many pixels. This is a useful starting point for everyday sharing.
  • 4× multiplies both dimensions by four: 800 × 600 becomes 3200 × 2400, with sixteen times as many pixels. Check whether the extra texture still looks credible.
  • 4K is useful for large displays and presentation assets. A 16:9 UHD display is 3840 × 2160; other image shapes require different width and height combinations.
  • 8K gives a larger canvas, with 7680 × 4320 as a common 16:9 display reference. Print suitability still depends on viewing distance, pixel density and source quality.

Image upscaler

Prepare a source that can enlarge well

More output pixels do not remove the need for a careful source and final review.

  • Find the original photograph rather than a messaging-app copy or a screenshot that has already lost texture.
  • If a face is soft, address the blur with Photo Enhancer before the final enlargement. Compare identity-relevant details at both steps.
  • Zoom to 100% to inspect words, logos and small facial features. Do not treat reconstructed text as a verified transcription.
  • Plan the credit cost for each run and save the chosen file before the 24-hour deletion window closes.

Image upscaler

A useful order: clean up, enhance, then enlarge

Make framing and content decisions before spending credits on the largest version.

  • Remove unwanted text or marked distractions using the removal brush, then inspect the filled area before continuing.
  • Improve a soft source with Photo Enhancer and confirm the face and expression still match.
  • Use AI Image Extender if you need a wider composition; upscale the selected composition afterward.

Remove unwanted text or marked areas

Enhance a source photo

Extend the canvas

Image upscaler

Limits to keep in mind

  • Upscaling is intended to preserve the composition and proportions, rather than crop or reframe the photo. Check the delivered dimensions and edges.
  • AI may synthesize mistaken texture, letters or facial detail. A request to preserve the subject does not guarantee every pixel is factual.
  • A tiny, unreadable thumbnail cannot supply a reliable original face or missing text. Do not use a plausible reconstruction as forensic evidence.
  • A digital file cannot guarantee print quality. Paper, ink, printer settings, physical size and viewing distance all affect the result.

Image upscaler

Who benefits from image enlargement?

Families preparing albums, people making desktop wallpapers, store owners publishing product images, and illustrators or vintage-photo collectors all have different quality checks.

  • For family prints, prioritize recognizable faces over aggressive skin smoothing and request a small proof when the print is important.
  • For high-resolution screens, match the screen’s aspect ratio and assess the image at a normal viewing distance.
  • For stores and social posts, retain accurate product details and check the platform’s image dimensions and compression.
  • For artwork and scanned photographs, preserve intentional lines and repair physical damage separately when needed.

Image upscaler questions

Enhance a photo. Keep what matters.

Start with your original image, choose a focused treatment and keep the result that works for you. No signup is needed to select a photo.

Enhance photo