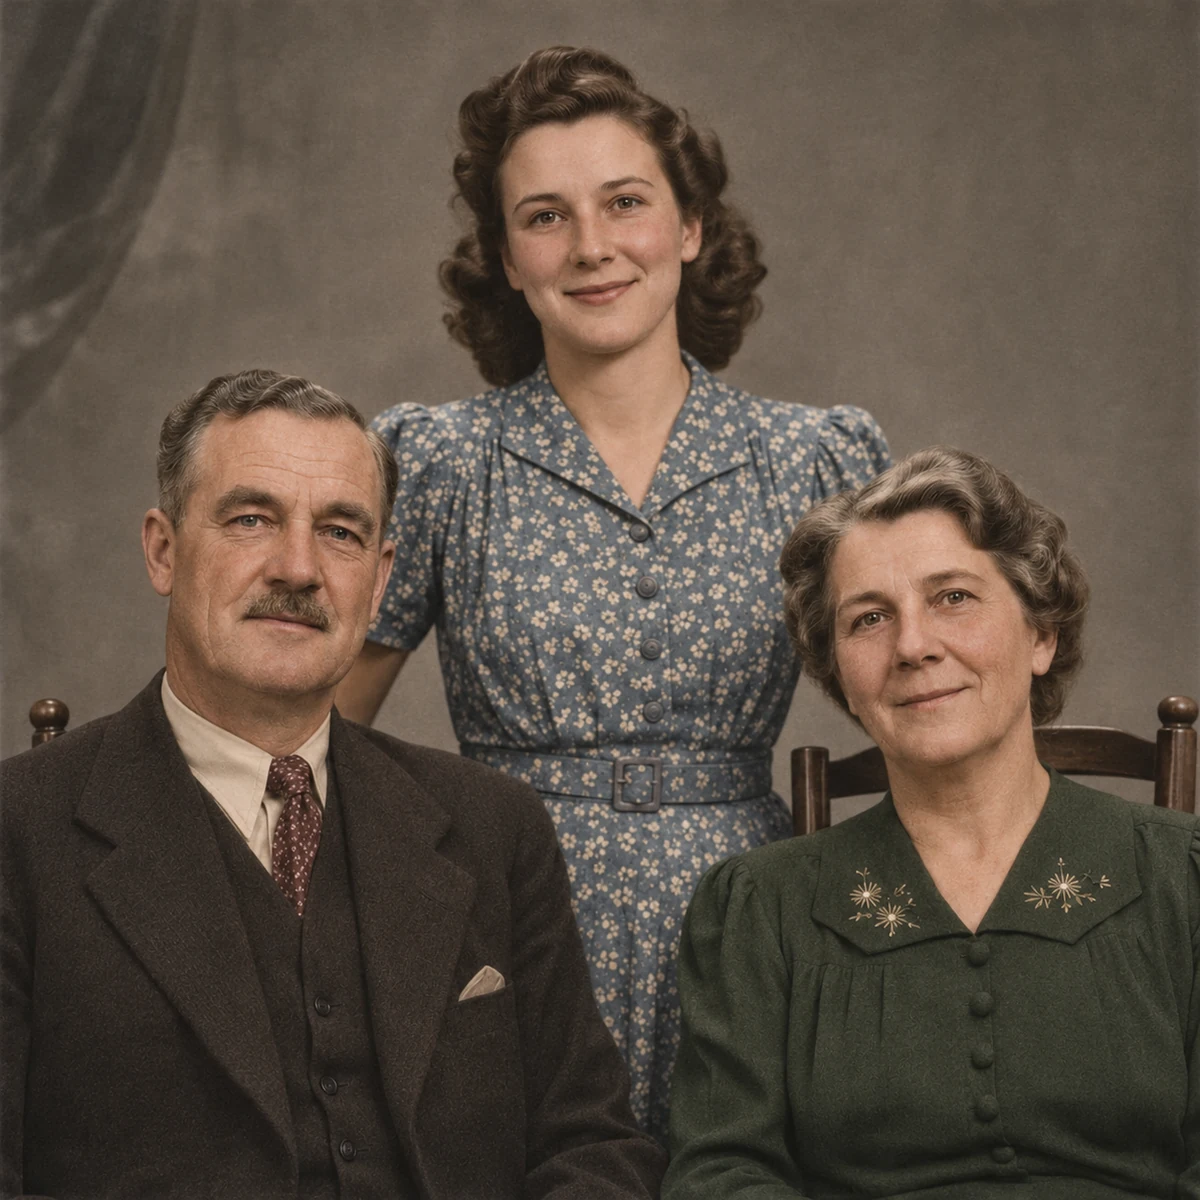
Scratches and dust on portraits
Inspect fine lines across skin, hair and clothing. Check that cleaner-looking texture has not smoothed away a feature that matters to the person in the picture.
Photo restoration
Restore old photos by treating scratches, dust, fold lines, torn corners and stains on a print you already have. Preserve the character of a black-and-white or sepia photograph, and compare repaired details with an untouched scan.
JPG, PNG, WEBP · up to 15 MB · 40 megapixels
Drop a photo here, or paste from your clipboard
No signup. Private by default.
AI processing uploads your selected photo securely. Files in Enhance Photo storage expire within 24 hours; upstream retention is described in our Privacy Policy.
Illustrative examples show the editing goal. Compare processed results with your original photo.
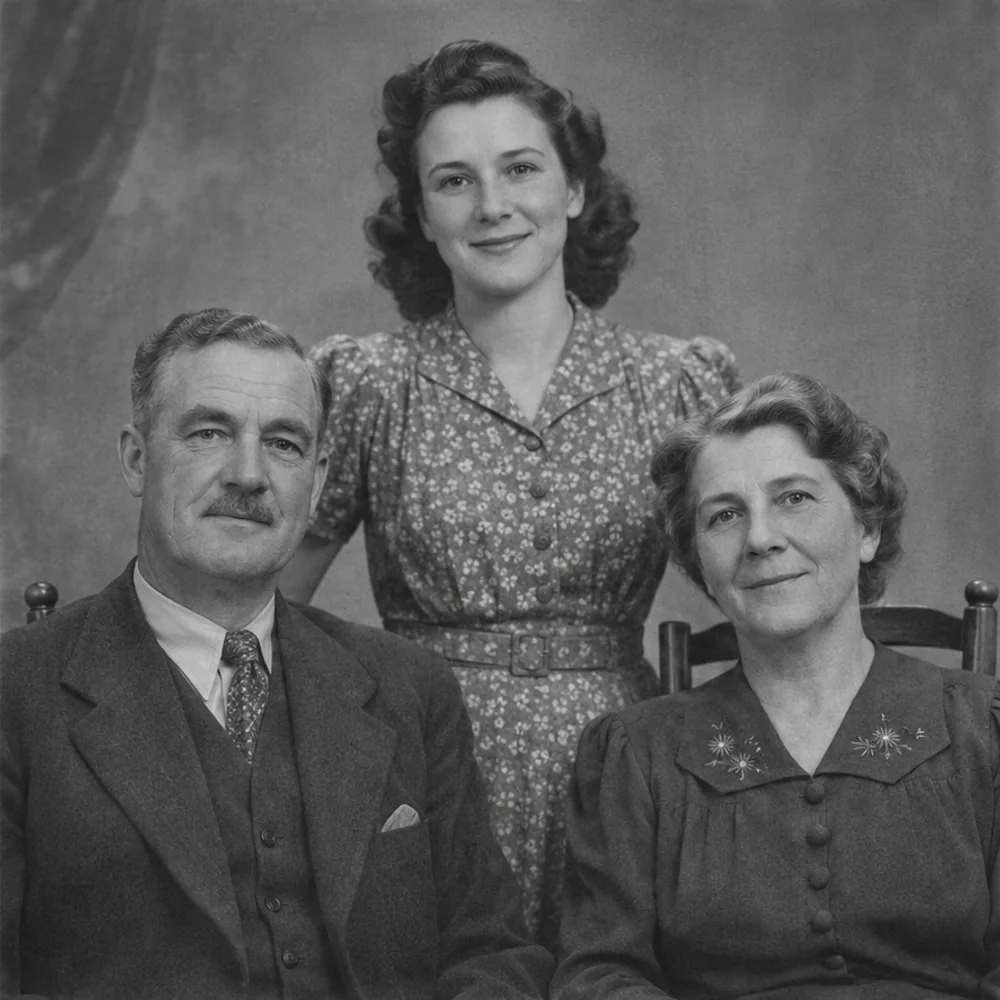
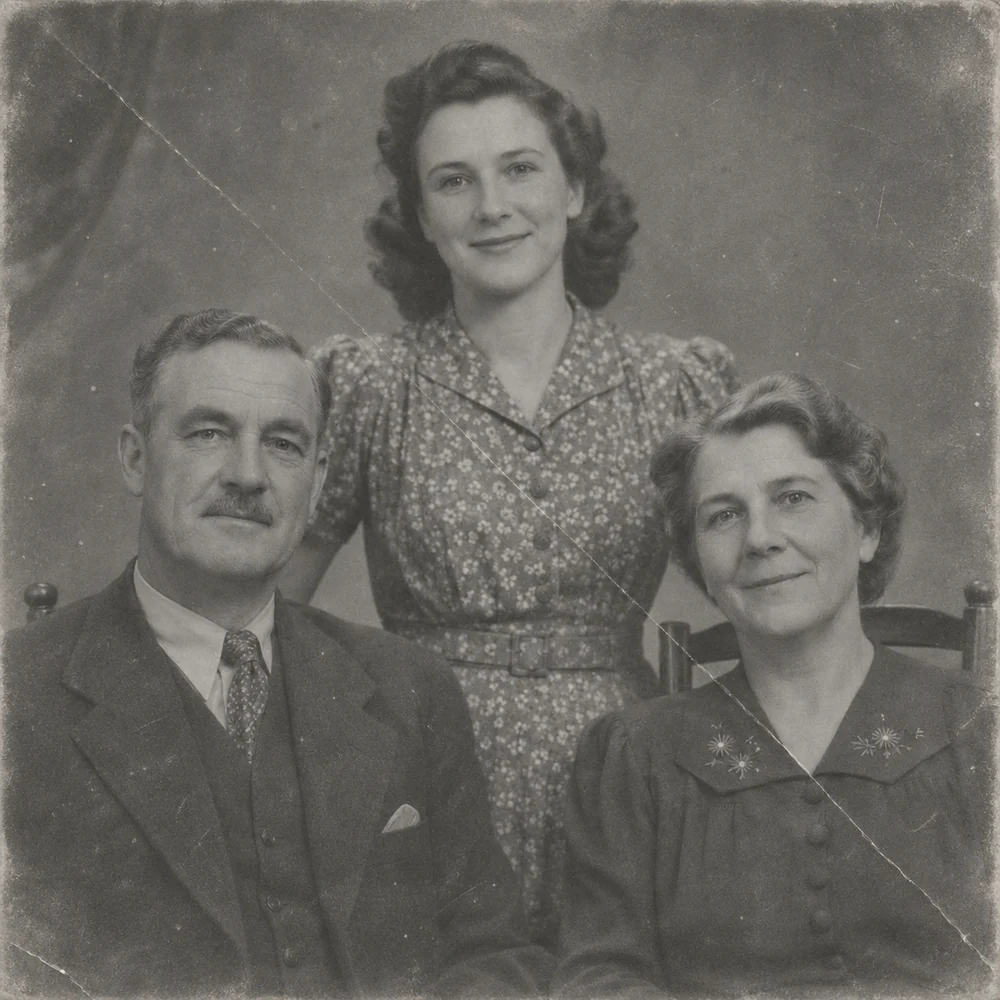
Use the original family-print comparison above as an illustration of the editing goal. Different kinds of damage need different checks, especially where a face or part of the paper is missing.
Inspect fine lines across skin, hair and clothing. Check that cleaner-looking texture has not smoothed away a feature that matters to the person in the picture.
Review the repaired crease and any reconstructed edge. A missing hat brim or background corner is inferred from context rather than recovered from lost paper.
Check the marked area and every small face in a group photograph. A more even paper surface should still be compared with the unedited scan.
Review damaged emulsion, image borders and any handwritten caption. Repair may also affect framing or tiny marks that belong to the original object.
Inspect each person individually. When damage has removed most of a face, a plausible replacement detail cannot establish what that relative originally looked like.
Make a flat scan or photograph the print straight on in even light. Keep an untouched copy, then add a JPG, PNG or WebP up to 15 MB and 40 megapixels.
Use the single photo-restoration option at 4 credits per image. Select the output format; there is no scene preset or second restoration model to choose.
Move the slider across faces, damaged paper and handwriting. Check the repaired areas at full size, then download the version you want to keep.
4 credits per image, with the same treatment for packs and Pro.
Choose and inspect your source without signup. AI restoration uses paid credits.
JPG, PNG and WebP, within 15 MB and 40 megapixels.
Use one-time pack credits or a Pro balance; a subscription is optional.
AI source files, results and download links have a 24-hour window.
November 2026
Photo restoration
Old photographic paper can accumulate scratches, dust, cracks, fold lines and stains. Restoration targets this visible physical damage in a scan or photograph of the print, rather than creating an unrelated new image.
Torn edges and lost patches need reconstruction from the surrounding picture. The filled area is an interpretation, not a recovered piece of paper. The less information left beneath damage, the less confidently you can judge the original detail.
Restoration aims to retain an existing monochrome or sepia appearance. Adding color is a separate transformation. If a scan is intact but simply soft, use photo enhancement for that clarity issue rather than treating it as paper damage.
Photo restoration
Try a scratched portrait, a folded family print, a scan with water or mold-like marks, flaking photographic emulsion or a damaged album photograph. A detailed source makes it easier to inspect what changed. Keep the original scan even when you prefer the edited appearance.
Photo restoration
Look for a cleaner presentation of the same photograph, while treating reconstructed areas as estimates.
Photo restoration
Assess the repair at the level of the original photograph, not only the removed mark.
Photo restoration
Capture as much surviving detail as possible before asking AI to repair the image.
Photo restoration
Add a color interpretation, enlarge the edited image for a layout, or enhance remaining softness as a separate task.
Colorize monochrome photographs with natural-looking tones, from family portraits to historical scenes.
Open toolEnlarge images for clearer presentations, larger layouts and high-resolution photo projects, with options up to 8K.
Open toolEnhance photo quality online. Unblur, sharpen and restore old photos, then upscale to 4K. No signup, no face changes, files deleted in 24 hours.
Open toolUse a dedicated treatment for your next edit, or convert formats locally without uploading the file.
Start with your original image, choose a focused treatment and keep the result that works for you. No signup is needed to select a photo.
Enhance photo