Window reflections on glasses
Inspect the lens surface, frame edges and eyes. Removing a bright window reflection can require the model to estimate facial detail hidden underneath.
Remove glare
Remove glare from a photo to reduce bright reflections on glasses, flash hot spots and distracting sun flare. Keep your existing picture as the starting point and compare any reconstructed area with the source before using the edit.


JPG, PNG, WEBP · up to 15 MB · 40 megapixels
Drop a photo here, or paste from your clipboard
No signup. Private by default.
AI processing uploads your selected photo securely. Files in Enhance Photo storage expire within 24 hours; upstream retention is described in our Privacy Policy.
Illustrative examples show the editing goal. Compare processed results with your original photo.
The illustrated glasses preview shows an editing goal. These five common situations explain where to look for changes when working with your own photo.
Inspect the lens surface, frame edges and eyes. Removing a bright window reflection can require the model to estimate facial detail hidden underneath.
Check eye shape, gaze and the original color treatment after reducing a screen reflection. A clearer lens does not guarantee an identical expression.
Review every letter and number around the bright area. The edit can reduce a reflection while still changing a small piece of lettering or leaving some flare.
Look for cleaner lighting on the surface, then verify the printed words against the physical item. Filled-in lettering is not a reliable recovery of hidden text.
Compare the face and overall tone as well as the reflection. If you have no glare-free original, you cannot confirm the exact detail that was obscured.
Upload, drop or paste a JPG, PNG or WebP up to 15 MB and 40 megapixels. Use the largest clean source available; phone-library photos work in a supported browser.
This tool has one glare-removal option at 4 credits per image. Choose JPG, PNG or WebP output. No scene preset or additional model is required.
Move the slider across lenses, faces and printed surfaces. Check any text and numbers, then save the result before the download link expires.
4 credits for the glare-removal treatment.
Choose and preview without registration. AI processing uses paid credits.
JPG, PNG or WebP, no more than 15 MB and 40 megapixels.
Use a credit pack or Pro. The same glare treatment and rate apply to both.
AI uploads, outputs and download links expire within 24 hours.
November 2026
Remove glare
A reflection can hide surface detail or draw attention away from your subject. Use glare removal for bright lens reflections, camera-flash spots, window light, lamp reflections and some sun flare in an image you already have.
On eyeglasses, the target is the bright area on the lens while the frame stays. This is different from removing the glasses themselves. Facial features, eye openness or color can still shift when the covered region is reconstructed.
The website works in supported iPhone, Android and desktop browsers without a separate app. AI processing uses an external service provider; it is not a browser-only conversion. If the rest of your picture also looks soft, treat that clarity issue separately.
Remove glare
Try reflections on eyeglasses, a flash spot on glossy packaging, sun flare over a sign or an outdoor portrait. Detail still visible around the bright patch provides context. An opaque white area may leave no record of the underlying scene.
Remove glare
Aim for a less distracting reflection, then review the portrait as a whole.
Remove glare
A successful lighting edit still needs a check of the information around and beneath the reflection.
Remove glare
A better capture can preserve detail that an editor would otherwise need to estimate.
Remove glare
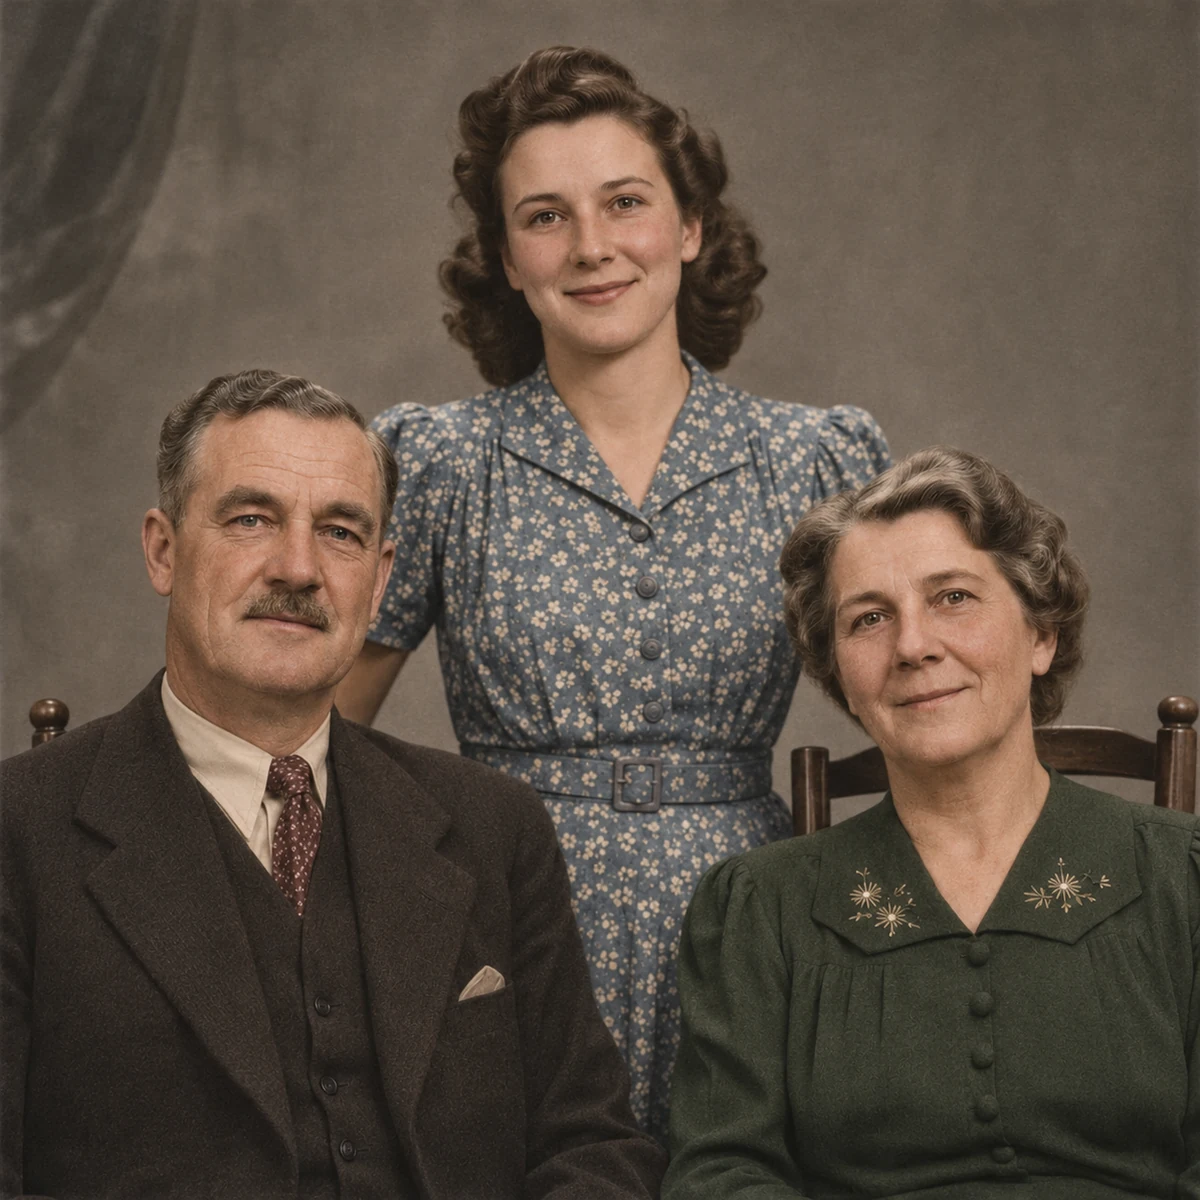
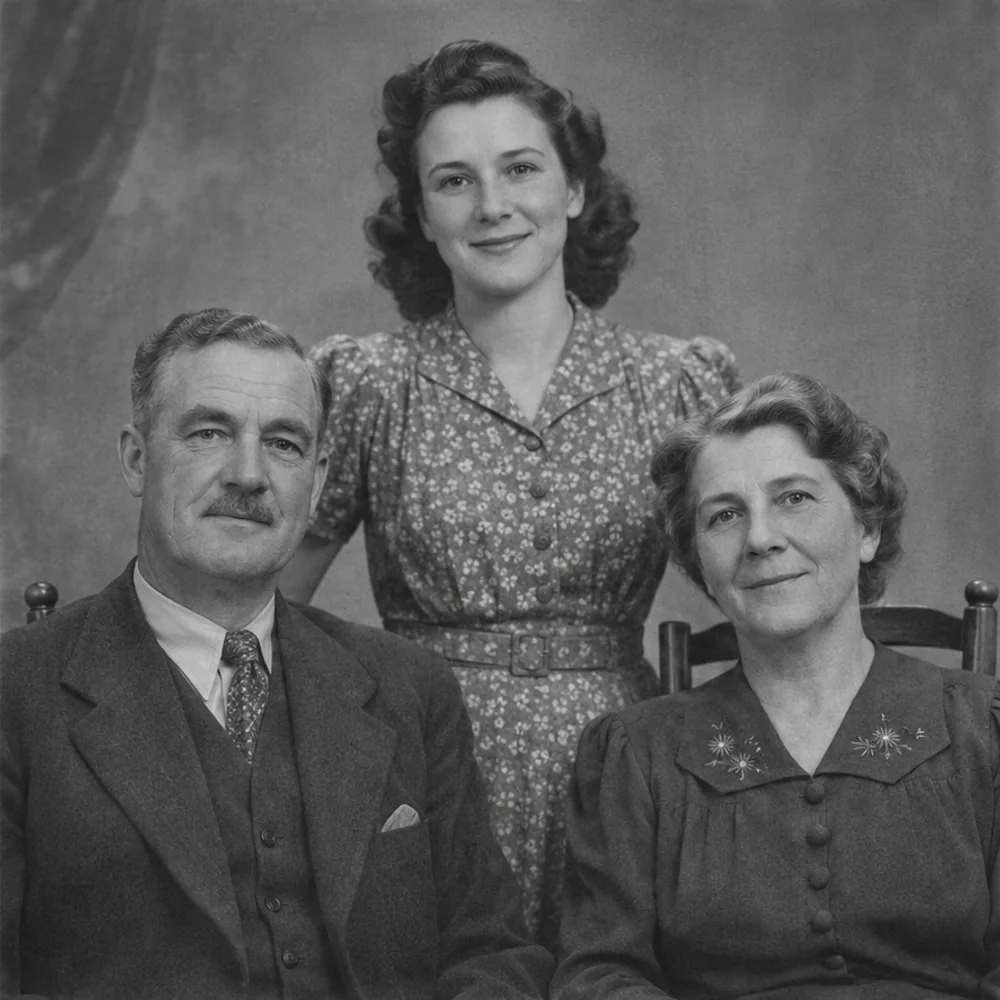
The lens guidance above covers glasses-specific reflections. Use photo enhancement for remaining softness, upscale for a larger layout, or colorize a monochrome print as a separate transformation.
Enhance photo quality online. Unblur, sharpen and restore old photos, then upscale to 4K. No signup, no face changes, files deleted in 24 hours.
Open toolEnlarge images for clearer presentations, larger layouts and high-resolution photo projects, with options up to 8K.
Open toolColorize monochrome photographs with natural-looking tones, from family portraits to historical scenes.
Open toolChoose a separate tool for clarity, restoration, creative edits or free local format conversion.
Start with your original image, choose a focused treatment and keep the result that works for you. No signup is needed to select a photo.
Enhance photo